Packing a Mascot Like a Pro
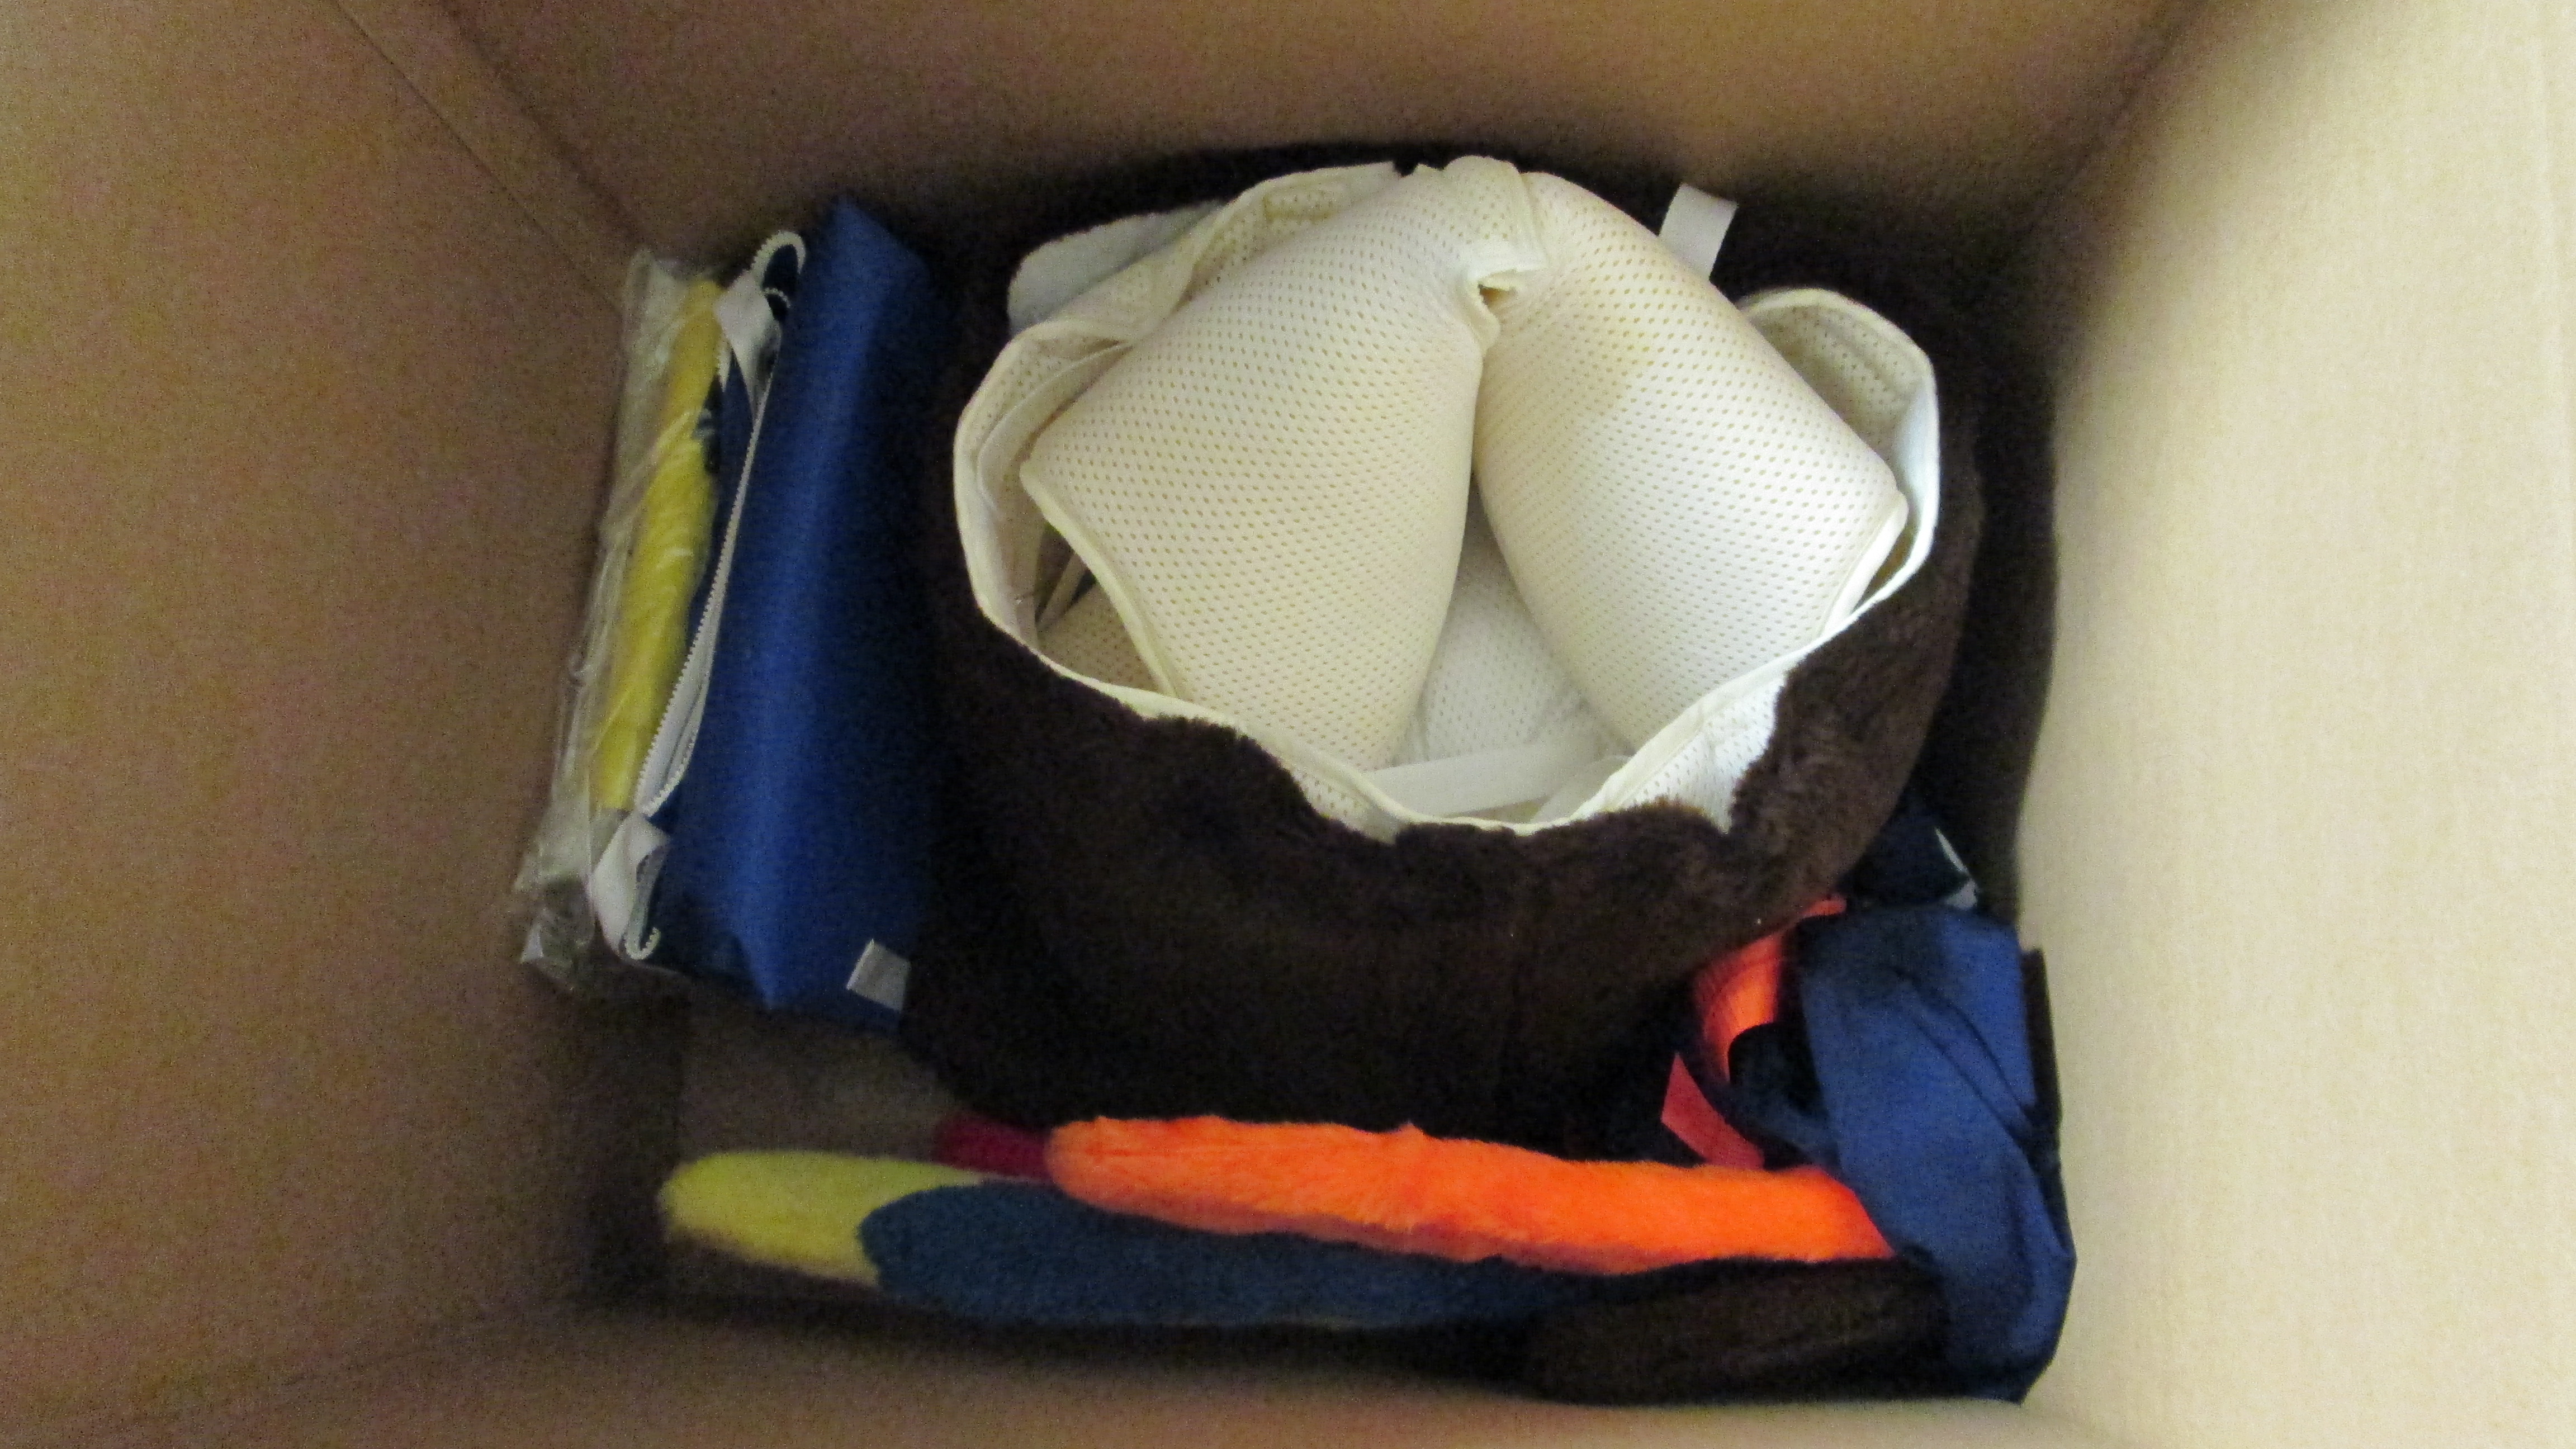
Using all areas within your box will help protect the box integrity in transport!
Learning how to properly pack a mascot can actually save you a lot of money. We’ve piqued your interest now, haven’t we? Packing your mascot the right way can save you transportation costs, save you replacement & repair costs, save you time and even save your mascot’s reputation. Here are some of the best suggestions from people who have been packing & receiving mascots for thirty years.
Saving money starts with choosing or making a proper sized box, not just shoving your mascot into your new fridge’s box that you were about to throw out anyways (unless your mascot is a fridge character. In that case, go for it). A box that is much too large can result in extreme pricing overages because shipping companies charge by dimensional weight. Boxes that are too large compromise the integrity of the box structure making it easier to crush in transportation and making your mascot rattle around inside after your inner packaging got crushed in transport. Packing your character in a box that is much too small can result in damage to body parts (Ever seen a pancaked mascot head? Yeah…. It’s not a good look.)
Your mascot really doesn’t deserve to be punished for your lack of packing savvy! Damage to parts caused by using a box of the wrong size, or other packing faux pas means more costly repairs, and a shorter lifespan (which means you may as well start saving pennies for your brand new “Betsy the Bear”). Also, keep in mind that if you treat your mascot with respect, others will too. In our experience, if you send a mascot out in a nice tidy box, you will almost always get it back the same way.
Follow these steps on how to properly pack a mascot to insure a longer lifespan for your character (and your budget!) From experience, here are some of our best suggestions:
General Mascot Packing Rules
- If you are reusing an old box, be sure to remove old labels. Especially old courier labels and barcodes. If you can’t remove them, destroy them by marking vertically with a marker over the barcode. It’s best not to confuse the courier.
- Be aware that you may have to make a box to accommodate the size or shape of your mascot (how to “make a box” is a different story for a different day!)
- Going local? Your own custom carry bag or perhaps a hockey bag will suffice. If you’re going long distance or overnight, choose a box for packing but don’t do both. Packing a character in its carrying bag and then in the box isn’t a good use of space.
- Pack costume with as little empty space as possible in box. Don’t crush anything. Protect eyes and vision screen with soft parts of costume. Usually this means putting the character head muzzle down into the nest you made of the body and inner
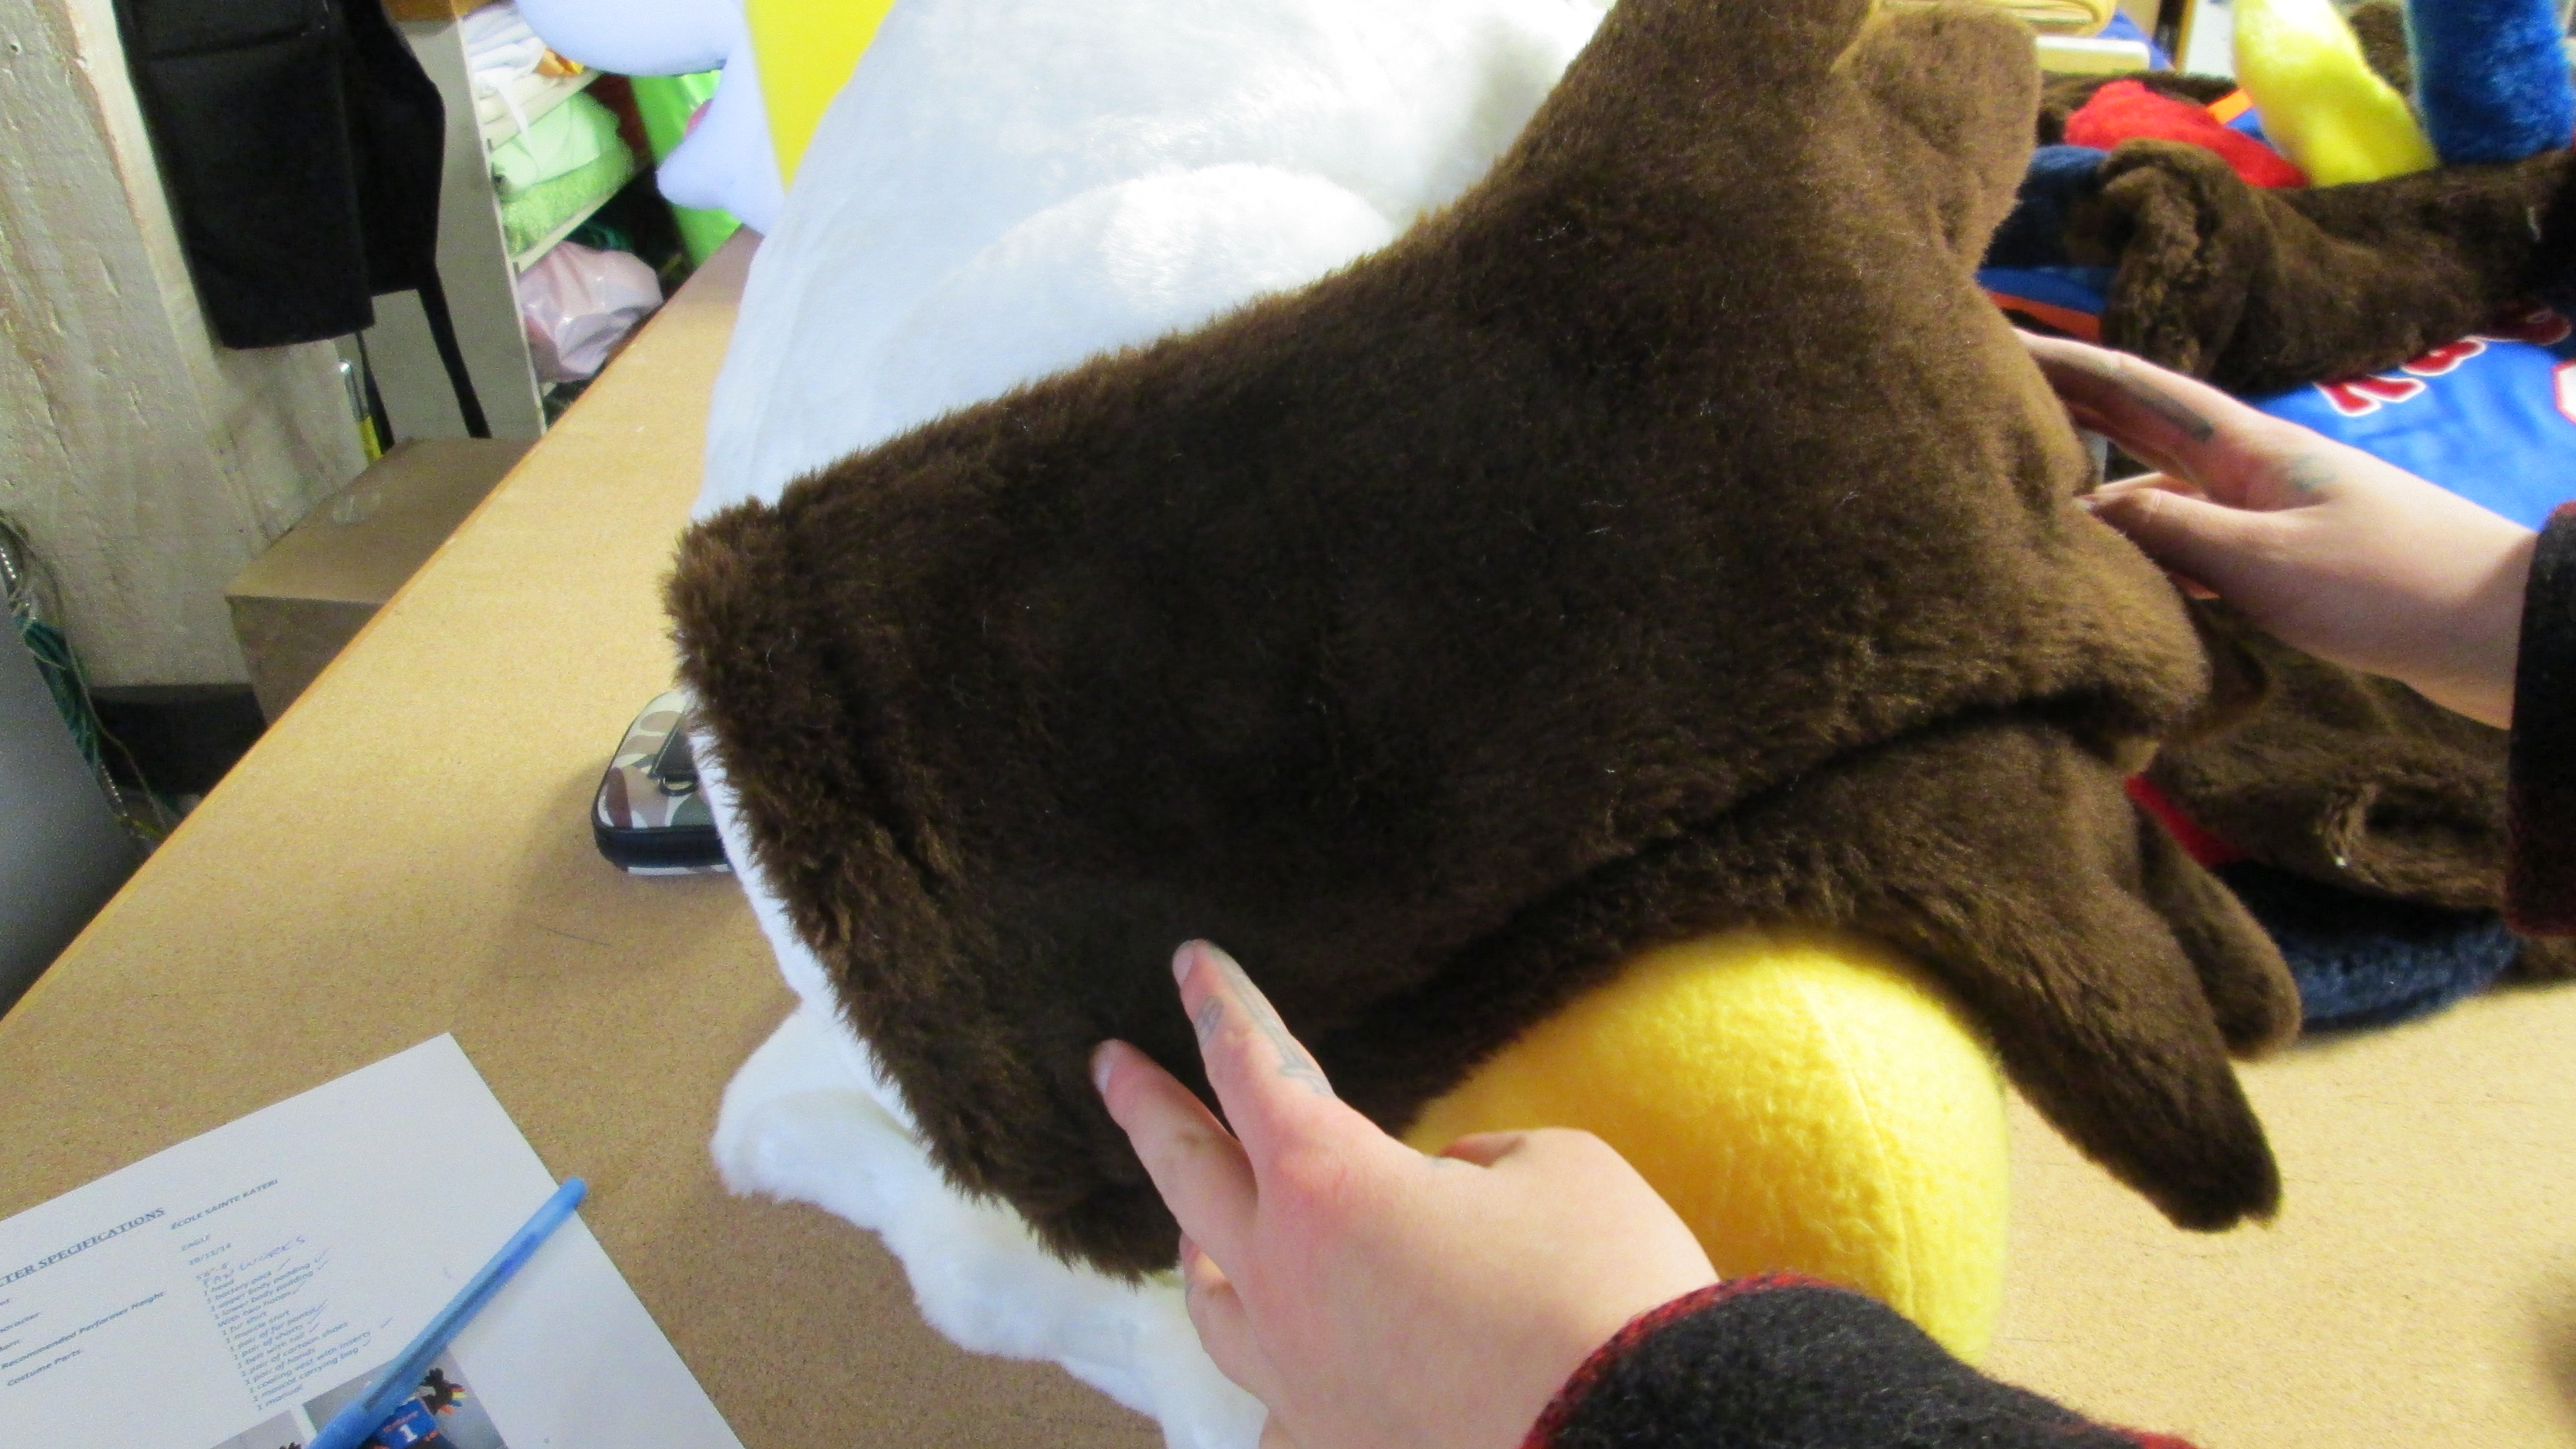
Use soft items like gloves to protect eyes!
body. How? Put legs of mascot in box and roll waistline into itself so that any buckles or zippers are now tucked inside. This will leave a hollow area that the muzzle of the character can be tucked in. For your typical walkabout mascot, place the soles of the feet facing outwards against the flat wall of the box. With a shape mascot, it would be best to utilize the space within the character itself. Place the shoes inside a plastic bag and put them inside the shape mascot.
- If the hoops inside the character’s inner body are making the mascot too large, they can be undone so the mascot is more easily compressible.
- Do not use foam peanuts for packing purposes (this is a selfish one- they make a big mess, so we’re not big fans of them. Also, they’re unnecessary. You should be able to cushion a mascot using its own parts).
After packing the character, trim your box to remove extra space at the top of the box:
- Measure the distance from the top of the box to the highest point of the packed material. Mark the outside of the box with this measurement in several places around the box opening.
- Using a large ruler, draw a line around the box, connecting the measured marks.
- Using a box-cutter, score the box at the ruled line on the outside (taking care not to cut all the way through the box).
- Cut the corners of the box down to the scored line. This will create longer top “flaps”.
- Close the box as you normally would. If you like, you can cut away any excess “flaps” to minimize weight.
- Make sure you have a lot of packing tape handy. You can reinforce the scored edges with packing tape. As shape mascots are often heavier than walkabout mascots they will require an incredibly well- secured box – packing tape will do the job!
- Properly label your box with bolded name, address, phone number, “attention to” in large print etc. (don’t yell “STOP!” as the courier leaves and hastily scribble the address in pen).
- If you have more than one box, label them to indicate which box is which (i.e. 1 of 2, 2 of 2).
Well, that’s that folks. Hopefully you’ve taken a gem or two from this article. By the way, you’re welcome for all the money you’re now about to save. Have more questions about packing your mascot? Feel free to give us a call at 1-800-653-0253. We’re happy to help!